Installing pavers can be a great way to improve the look of your property, but it’s important to make sure that the ground is prepared correctly before you start. If the surface isn’t level, your pavers will not look as good as they could, and they may even start to move or fall over time. In this guide, we will walk you through how to level ground for pavers. Follow these steps, and you’ll have a perfect installation!
Why leveling is important?
If you’re going to be installing pavers, it’s important that the ground is level. That’s because the uneven ground can cause your pavers to shift and settle in ways that you don’t want. A level surface will also make it easier to lay your pavers evenly, resulting in a neater overall appearance. So how do you go about leveling the ground for your paver installation?
How to level ground for pavers?
Here are a few tips on how to level the ground for patio pavers:
1. Decide on the shape and size of your paver patio
The shape and size of your patio will be determined by a number of factors, including the available space, the planned use for the patio, and your personal preferences. If you have a large backyard, you may want to opt for a rectangular or square patio. This will give you plenty of space for furniture and outdoor activities. If you have a smaller yard, or if you want to create a more intimate seating area, a round or irregularly-shaped patio might be a better option.
Once you’ve decided on the shape of your patio, you’ll need to determine the size. Again, this will be influenced by the available space and your planned use for the patio. If you’re simply looking for a place to relax and enjoy the outdoors, a small patio may be sufficient. However, if you’re planning to entertain guests or host outdoor gatherings, you’ll need a larger patio. Once you’ve decided on the shape and size of your patio, you can begin planning the layout and selecting the materials.
If you’re not sure how to choose the right size and shape for your patio, consult with a landscape designer or paver contractor. They will be able to help you determine the best option for your space and needs.
2. Calculate how much material you will need
After you have decided on the shape and size of your patio, you will need to calculate how much material you will need. This can be a tricky task, as there are many factors to consider. The first thing you’ll need to do is determine the square footage of the patio area. To do this, simply measure the length and width of the space. Once you have these measurements, multiply them together to get the total square footage. For example, if your patio is going to be 12 feet long and 12 feet wide, the total square footage would be 144 (12×12=144).
Once you have the square footage, you’ll need to decide on the thickness of your pavers. The thickness of the pavers will be determined by the type of material you’re using, as well as the intended use for the patio. A thicker paver is better suited for a high-traffic area, such as a driveway, while a thinner paver can be used for a more decorative patio.
Once you have these two measurements, you can calculate how many pavers you’ll need for your project. For example, if you’re using 12-inch thick pavers and the total square footage of your patio is 144, you would need 72 pavers (144/12=72). However, it’s always a good idea to buy more material than you
3. Mark the area where you will be laying pavers
Once you have calculated how much material you will need, it’s time to start marking the area where your patio will be installed. Use a rope or garden hose to mark the perimeter of the space, then use a shovel or spade to dig out the area to the desired depth. If you’re not sure how deep to dig, consult with your paver supplier or contractor. They will be able to advise you on the appropriate depth for your project.
4. Remove any sod or vegetation from the marked area
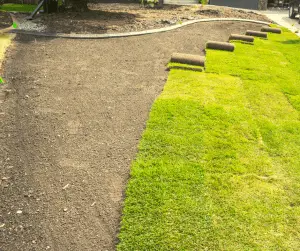
As we mentioned in the previous step, you’ll need to remove any sod or vegetation from the marked area. This can be done with a garden rake or shovel. Be sure to remove all the roots, as they can cause problems later on. Once you have removed all the vegetation, you can use a rototiller to loosen the soil and make it easier to work with.
If you don’t have a rototiller, you can rent one from your local hardware store. Just be sure to return it in the same condition that you received it!
5. Dig out the area to a depth of 8-10 inches, making sure to remove any large rocks or tree roots
The next step is to dig out the area to a depth of eight to ten inches, you can use a measuring tape. This may seem like a lot, but it’s necessary to allow for proper drainage. Be sure to remove any large rocks or tree roots that you come across. These can create problems later on.
Once you have finished digging, use a garden hose or sprinkler to wet down the area again. This will help to settle the soil and keep dust from becoming a problem later on.
If you live in an area with a lot of clay in the soil, you may need to add some sand to the excavated area. This will help to improve drainage and prevent your pavers from shifting.
6. Add a layer of sand over the excavated area and compact it using a tamper or plate compactor
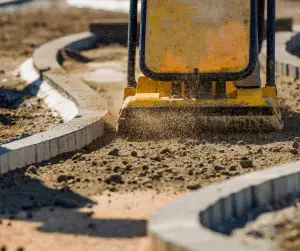
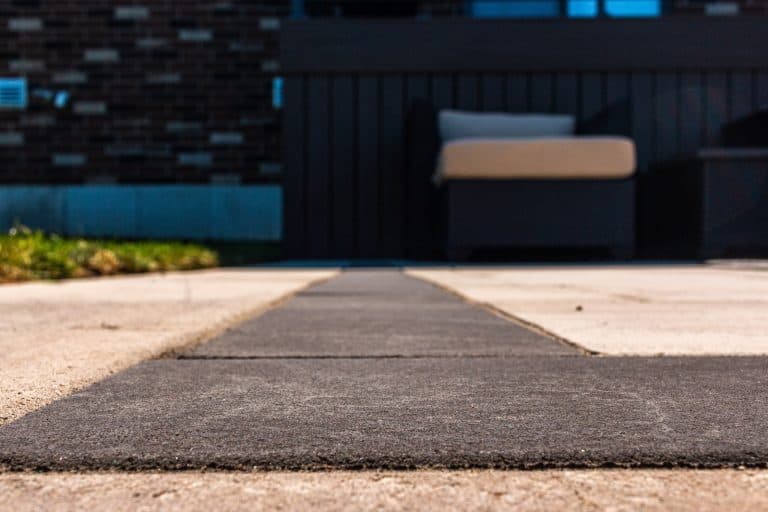
The next step is to add a layer of sand over the excavated area. This should be about two inches thick. Once you have added the sand, use a tamper or plate compactor to compact it. This will help to level out the surface and prevent your pavers from shifting. Paving stones should be level with each other and sit slightly above the sand. This will allow for proper drainage.
If you don’t have a tamper or plate compactor, you can rent one from your local hardware store. Just be sure to return it in the same condition that you received it!
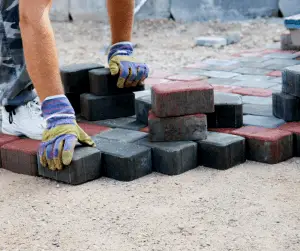
Once you have compacted the sand, you’re ready to start laying your pavers!
DIY vs hiring a professional for your patio pavers
Now that you know how to level ground for pavers, you may be wondering if you should DIY or hire a professional. There are pros and cons to both options for your paving project.
If you decide to DIY, it’s important to remember that this is a big project. It will take several days to complete, and it’s important to do it right. Be sure to take your time and read all the instructions before getting started.
If you decide to hire a professional, they will handle all the hard work for you. They will also be able to provide you with advice and guidance if you’re not sure about something. However, this option will be more expensive than DIYing it yourself.
Purchasing patio pavers
Now that you know how to level ground for pavers, it’s time to purchase your materials. There are a few things to keep in mind when choosing your patio pavers.
First, you’ll need to decide on the size and shape of your pavers. They come in a variety of sizes, so be sure to measure the area where you’ll be installing them.
Second, you’ll need to choose a material. The most popular options are concrete, brick, and stone. Each has its own benefits and drawbacks, so be sure to do your research before making a decision.
Finally, you’ll need to decide on a color scheme. There are endless possibilities, so be sure to choose something that you love.
Final Thoughts: How to level the ground for pavers?
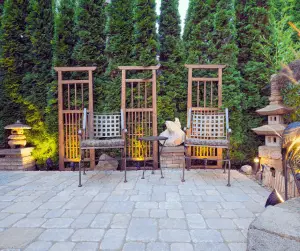
Having a great paver patio starts with having a level foundation to work from. You can do this yourself by following the steps we outlined above, or you can hire a professional to do it for you. You’ll need to purchase your pavers, and we recommend doing some research to decide on the size, shape, material, and color scheme that you love. With a little bit of effort, you’ll have a beautiful patio that you can enjoy for years to come!
For even more backyard improvements, see the article How to Create a Backyard Seating Wall for Your House.
